Installing

Contents
Before installing the Astro-Physics V2 telescope driver please make sure sure you you have installed the ASCOM 6.3 (or later) platform. You can download the most recent platform version from https://www.ascom-standards.org. You may also need to install the Microsoft .Net Framework 3.5 and 4.x, and possibly service packs. More details on the requirements can be found on the ASCOM-Standards site.
You can always install most versions of the V2 driver without uninstalling the previously installed version of the V2 driver. Those versions requiring prior removal of the earlier build will provide warnings at the start of the installation process. Note also that the V2 driver is independent of the old, V1 driver. Both can coexist with the V1 driver (that is both can be installed simultaneously. However both cannot be used simultaneously with the same telescope). Unless you have a specific reason to do so, installing the V1 driver is not necessary nor recommended.
C:\ProgramData\Astro-Physics\ASCOM\ The working directory for logs, data, settings etc. contains the files with the parameter settings as well as the logs and other troubleshooting help. Unfortunately, Microsoft hides the "Program Data" folder by default so you will have to make it visible to use the directory beyond auto-saving logs.
We know and understand the tendency to avoid minor updates to software. The old adage "If it ain't broke - don't fix it!" often gets applied to astro software. In this case - where the AP ASCOM V2 Driver is being installed - we highly recommend you keep related software updated as well. This is particularly true of The ASCOM Platform, the AP V2 driver and APCC. Good Rule: If updating any one of these three, check and update all three as necessary.
If a welcome screen is displayed, confirm the version of the driver is as expected; then click Next >.
Most installations will begin with the license tab:
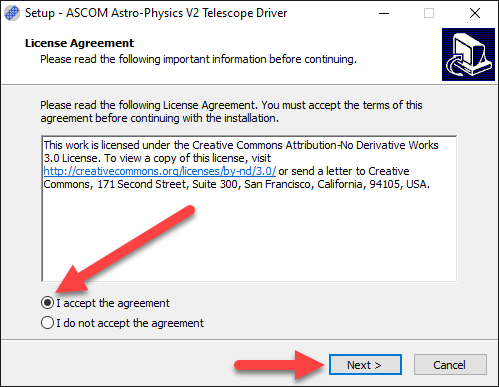
Please be sure to read the license agreement and accept it if you agree to it. Click Next >
![]()
If you haven't already configured the ASCOM driver (from an earlier version of the V2 driver), then check the option to Open telescope setup dialog. If you also want to set up the focuser driver then check Open focuser setup dialog. Please note that settings from the older V1 driver will not be imported into the V2 driver. Click Next to continue.
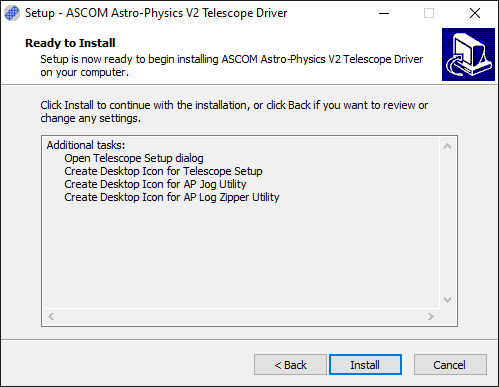
Click Install to install the driver. If you selected to open the telescope setup dialog you will now see it:
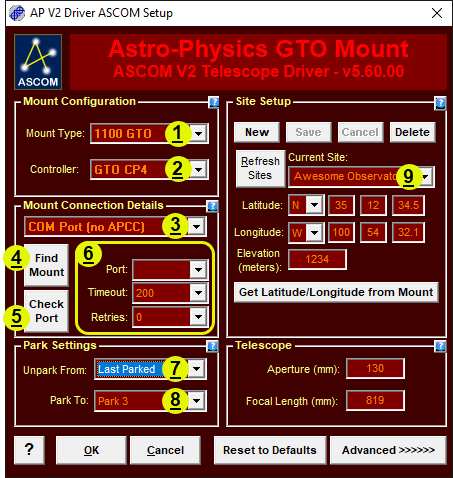
The minimum setup includes:
1. Mount Type: Select the best match for your mount.
2. Controller: All mounts made within the last few years have the GTOCP4 and GTOCP5 controllers. Earlier control boxes are supported, but lack many features of the newer boxes.
3. Conection Method: Choose the option that best describes your intended connection method. There are 4 options
4. Find Mount: This button is displayed for 2 of the 4 options chosen in #3 above. Find Mount is a search algorithm that goes out onto your PC and network and polls Windows Device Manager and the network to find COM ports or IP addresses on which powered mounts are found. (Control box must be powered ON.) There are two versions of the Find Mounts applet: The buttons that display when serial is involved take care of the COM port situations. If using internet protocol (IP) based communications, we recommend using the FindMounts java applet found at the following link (link includes downloads for both the java applet and java itself). FindMounts link
5. Check Port: If you have your PC and mount connected, and the mount is powered ON, click "Check Port" button to make sure you have the correct port selected.
6. Connection Details are found in this section. The fields presented can change based on the connection type.
7. Unpark From: This option allows you to establish pointing and orientation for freshly set up systems. Freshly set up or newly rebalanced systems can take advantage of the predefined AP park positions to begin their session with the mount pretty well calibrated. For permanent setups, Last Parked is the best choice for unparking. It is recommended that you configure Unpark From to "Last Parked" after your first initialization.
8. Park To: Select your desired park position.
9. Site location.
Additional information and details on connections and initialization can be found in these sections:
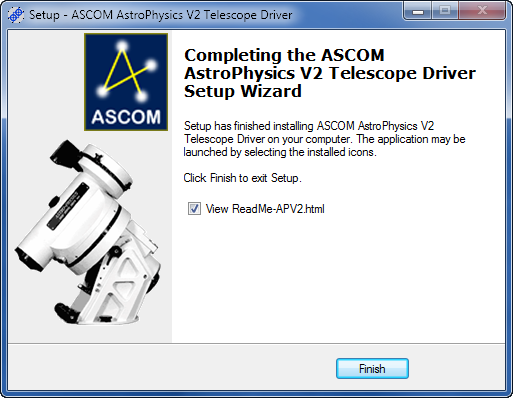
Click Finish to exit the installer. The driver is ready to be used!